Guidelines For Canon Pixma TR4500 Wireless Setup Without Disk
Have you purchased a new Canon Pixma TR4500 printer? Did you want to do Canon TR4500 wireless setup? Have you not got any CD with your ij.start.canon TR4500 printer? Wondering how to perform ij start Canon Setup TR4500? Well, you can complete the Canon TR4500 Wireless Setup very easily even if you do not have a CD. Here, in this blog, you will get to know the simple steps to set up your Canon Pixma TR4500 wirelessly without a disk.
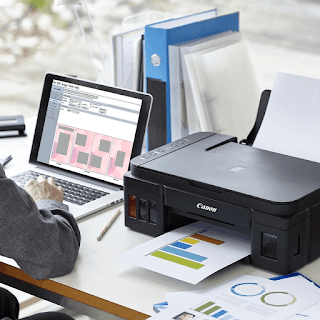
Canon is a world-class printer in the market known for its exceptional features and functions. It is an all-in-one printer used for printing, scanning, faxing, and copying. The advanced technology that is used to make this printer makes people's lives easier and provides high-quality printing. To get the best printing, you just need to set up your Canon Pixma TS4500 printer.

Simple Steps for Canon TR4500 Wireless Setup Without Disk
After purchasing the new Canon Pixma TR4500 printer, the first step that you need to perform is unboxing and setting up the printer. Follow the below steps for ij start Canon Setup TR4500 without disk:
Step 1: The Canon Pixma TR4500 printer is delivered in a well-packed printer to avoid any type of damage to the printer.
Step 2: It is advised to always use scissors to open the printer box. Also, make sure after delivering the printer box that all the things in it are in first-class condition.
Step 3: Unbox the Canon Pixma TR4500 printer by removing the wrapping material and tape all around the printer box and the accessories that come along with the printer.
Step 4: After that, take out the Canon printer from the printer box on a smooth and dirt-free surface.
Step 5: In the next step, plugin your Canon Pixma TR4500 printer into the electrical outlet by using the power cable.
Step 6: Turn on your Canon Pixma TR4500 printer.
Step 7: Thereafter, check the settings of your Canon Pixma TR4500 printer. Adjust the settings of your printer by using the instructions written in the user manual.
Step 8: Next, open the input paper tray and place a bunch of papers into the tray carefully. Make sure all the papers are aligned before proceeding to the printing process. Close the tray.
Step 9: Now, install the ink cartridges properly into your printer. It is essential to handle the ink cartridges carefully.
Step 10: You need to load the A4 sheets to the Canon Pixma TR4500 printer. Make sure to adjust the paper according to the printer specifications.
Step 11: Follow on-screen instructions carefully without skipping any step.
Step 12: Use the right and left arrow keys to choose the size of paper for printing. Click on the Ok button to proceed further.
Step 13: Click on the Start button on your computer and then tap on the ‘All Apps’ option.
Step 14: Tap on the “Canon Utilities” option. Select the Easy Photo Print Editor option and then choose your file.
Step 15: At last, you need to choose the file or document that you want to print. You can also change the print settings according to your requirements. Click on the Print option.
That’s All! With these steps, you can easily complete the Canon TR4500 Wireless Setup on your device by accessing ij.start.canon TR4500 without any hassle. If you have any query associated with ij start Canon Setup TR4500 then you can contact our best professionals for better guidance to resolve the problem. Our experts provide 24x7 hours of assistance to offer the best services to customers.

Comments
Post a Comment